


Game Information
Gabba
| fourth Quarter | |||
|---|---|---|---|
| Time | Team | Play | Score |
| 20:40 |  | Rushed | 100 - 44 |
| 18:21 |  | T. Sparrow Goal | 100 - 43 |
| 14:27 | | J. Melksham Goal | 94 - 43 |
| 11:57 | | B. Fritsch Goal | 88 - 43 |
| 8:17 | | T. Varcoe Behind | 82 - 43 |
| 1:24 | | B. Fritsch Goal | 82 - 42 |
| third Quarter | |||
| Time | Team | Play | Score |
| 19:22 | | W. Hoskin-Elliott Goal | 76 - 42 |
| 13:49 | | C. Petracca Goal | 76 - 36 |
| 11:10 | | W. Hoskin-Elliott Behind | 70 - 36 |
| 9:03 | | E. Langdon Goal | 70 - 35 |
| 7:28 | | W. Hoskin-Elliott Behind | 64 - 35 |
| 1:54 | | Rushed | 64 - 34 |
| 0:51 | | Rushed | 64 - 33 |
| second Quarter | |||
| Time | Team | Play | Score |
| 35:09 | | E. Langdon Goal | 64 - 32 |
| 33:40 | | B. Reid Goal | 58 - 32 |
| 31:53 | | J. Daicos Behind | 58 - 26 |
| 29:52 | | C. Spargo Goal | 58 - 25 |
| 27:12 | | T. Adams Goal | 52 - 25 |
| 25:07 | | C. Spargo Goal | 52 - 19 |
| 23:37 | | J. Melksham Goal | 46 - 19 |
| 19:04 | | C. Spargo Goal | 40 - 19 |
| 17:10 | | Rushed | 34 - 19 |
| 15:34 | | J. Elliott Goal | 33 - 19 |
| 12:51 | | T. McDonald Goal | 33 - 13 |
| 3:20 | | S. Weideman Goal | 27 - 13 |
| 1:05 | | Callum L. Brown Goal | 21 - 13 |
| first Quarter | |||
| Time | Team | Play | Score |
| 23:50 | | B. Reid Goal | 21 - 7 |
| 21:30 | | B. Fritsch Behind | 21 - 1 |
| 18:55 | | Rushed | 20 - 1 |
| 16:03 | | K. Pickett Goal | 19 - 1 |
| 13:35 | | D. Cameron Behind | 13 - 1 |
| 10:43 | | A. Brayshaw Goal | 13 - 0 |
| 7:30 | | S. Weideman Goal | 7 - 0 |
| 2:39 | | C. Petracca Behind | 1 - 0 |
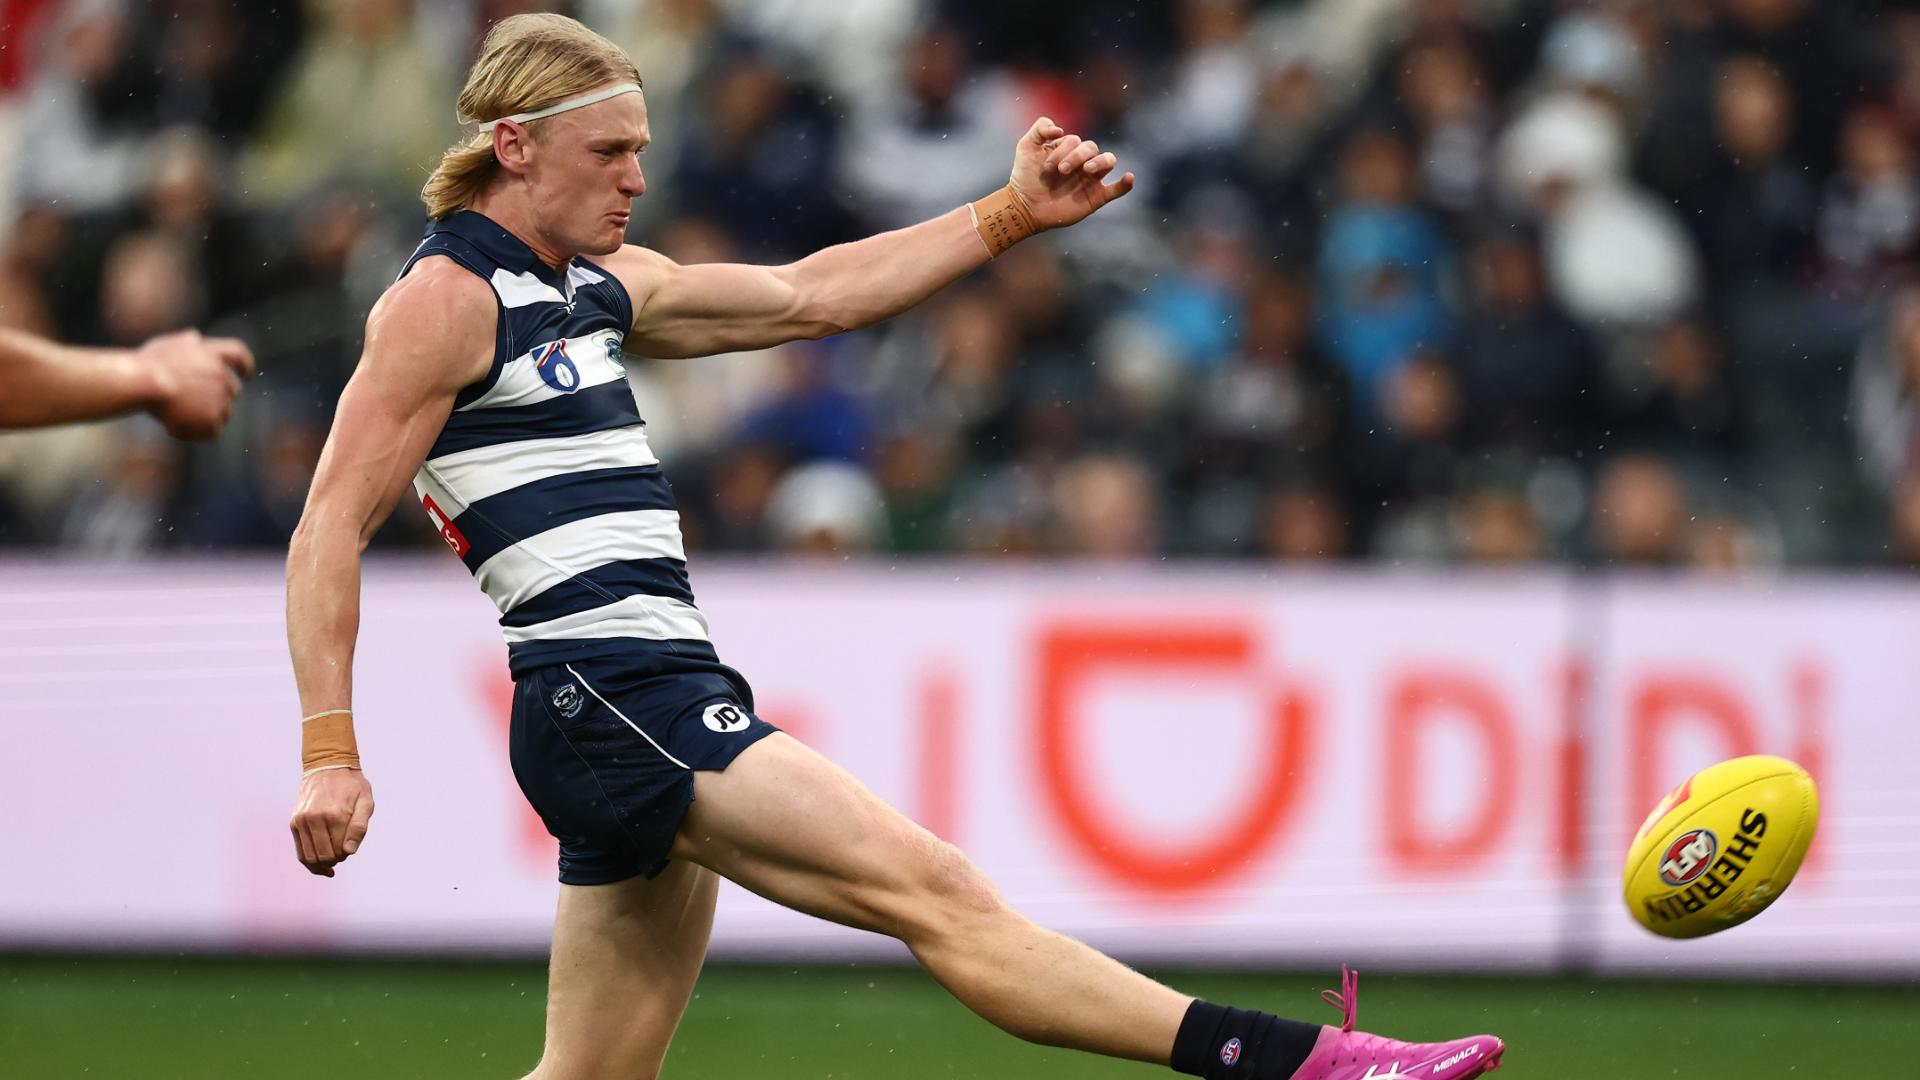
Geelong's Ollie Dempsey continues to make his case for a maiden All-Australian selection, booting a career-high four majors against the Bombers.
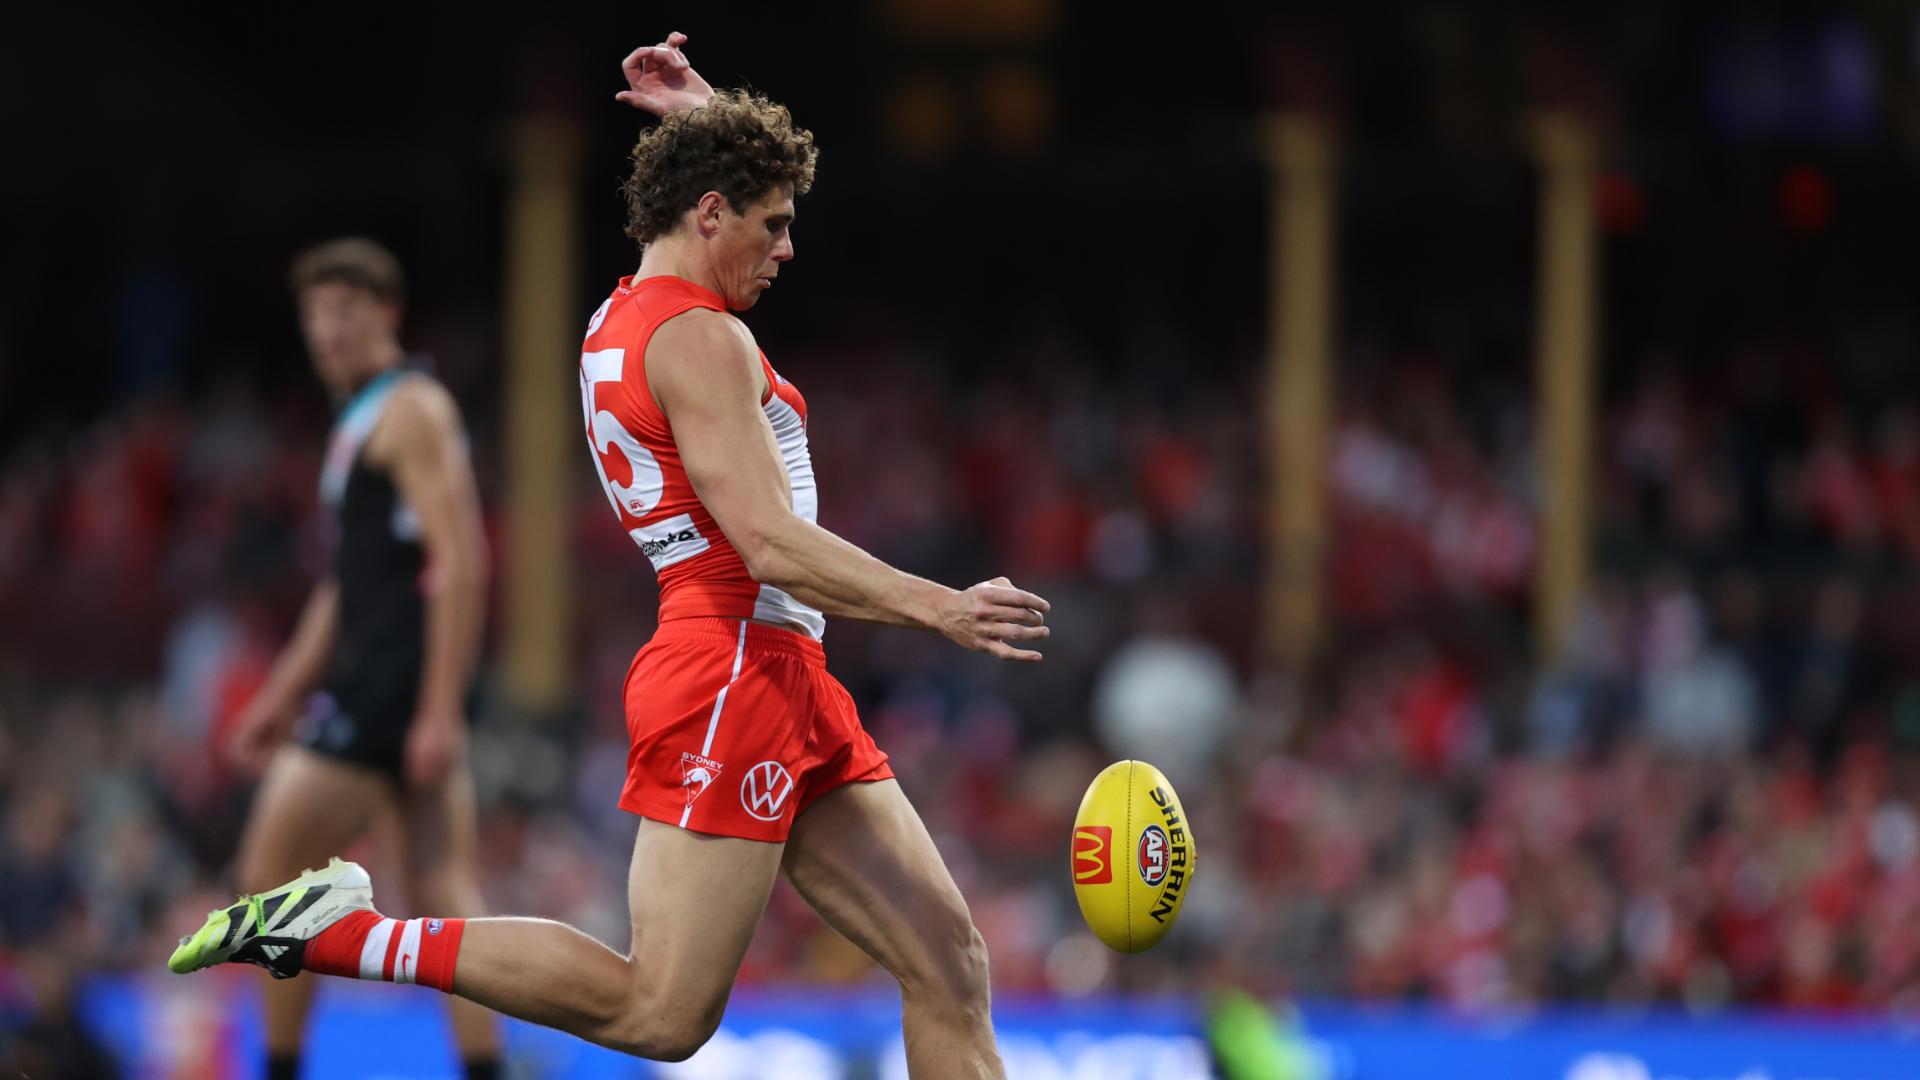
Sydney Swans' Charlie Curnow extended his lead as the league's leading goalkicker against Port Adelaide
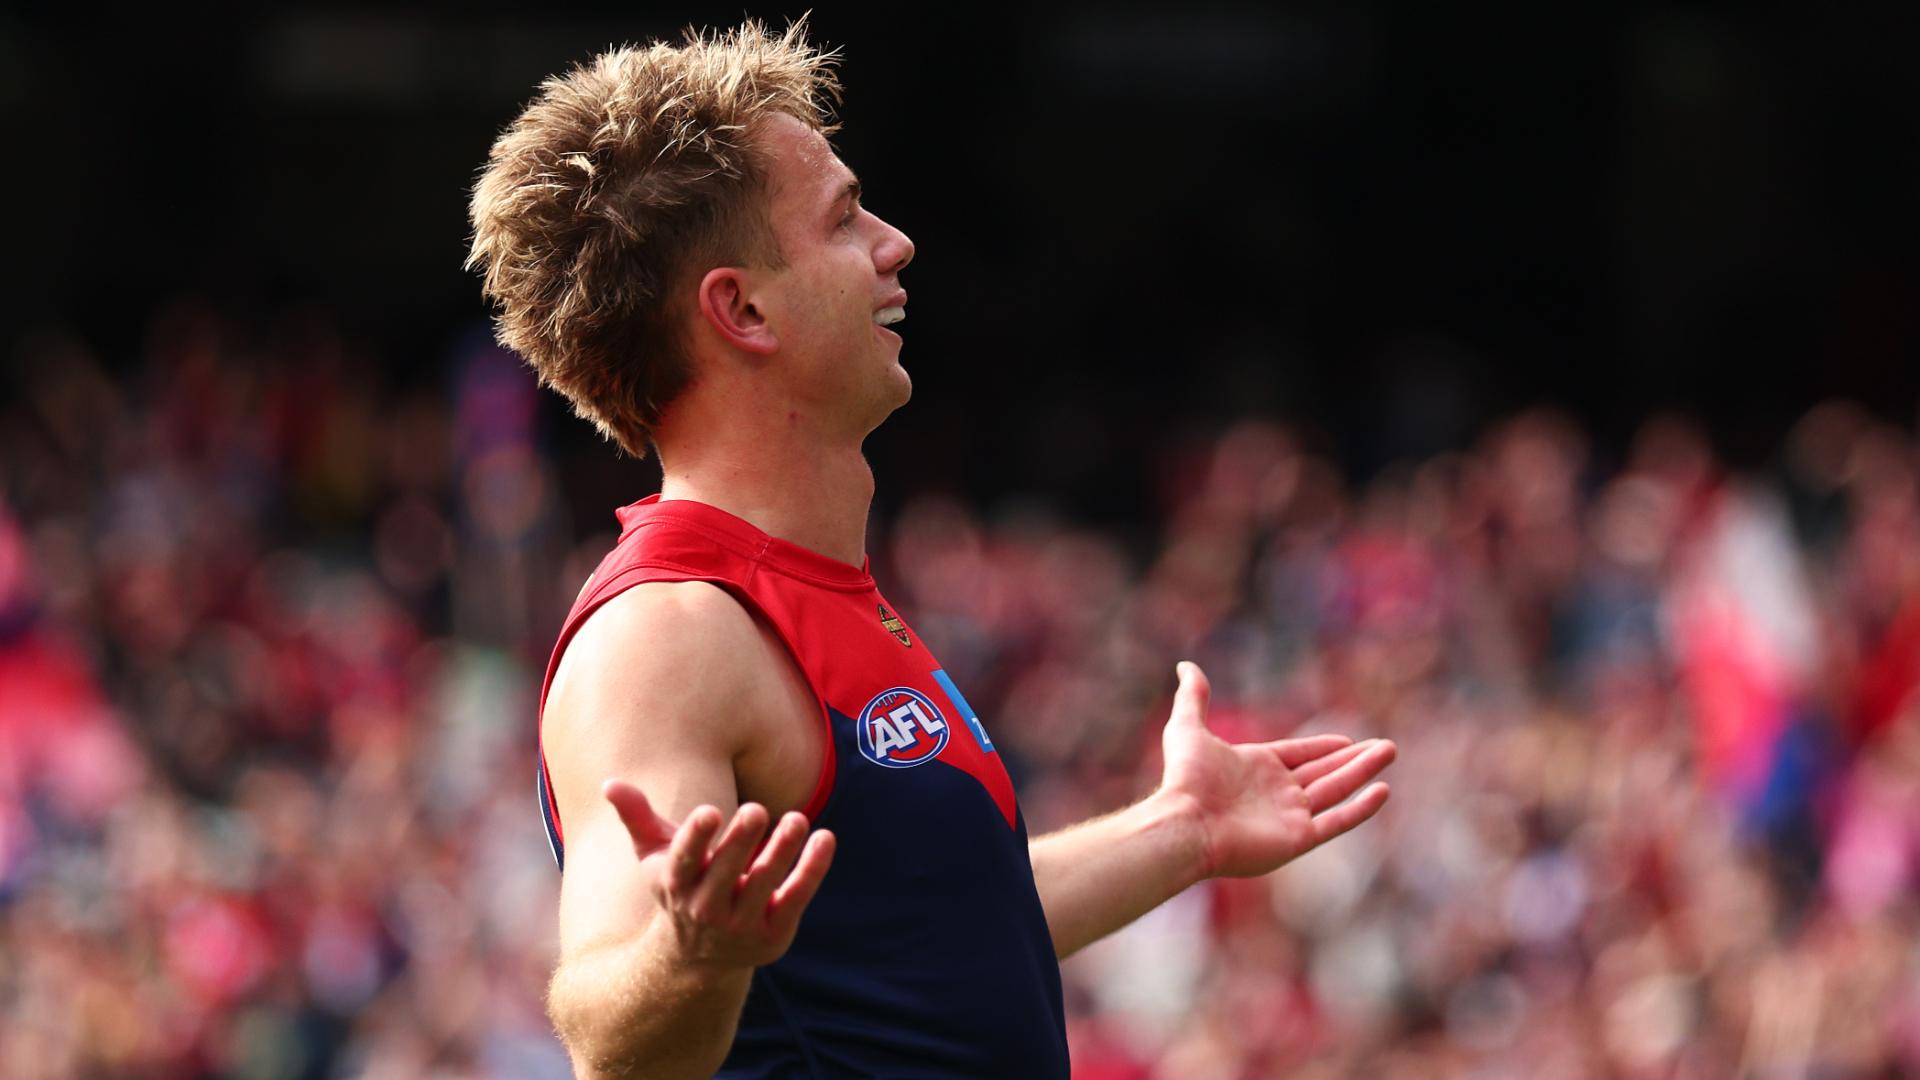
Harry Sharp produces a moment of brilliance with a goal off the deck to help Melbourne shock Fremantle at the MCG.
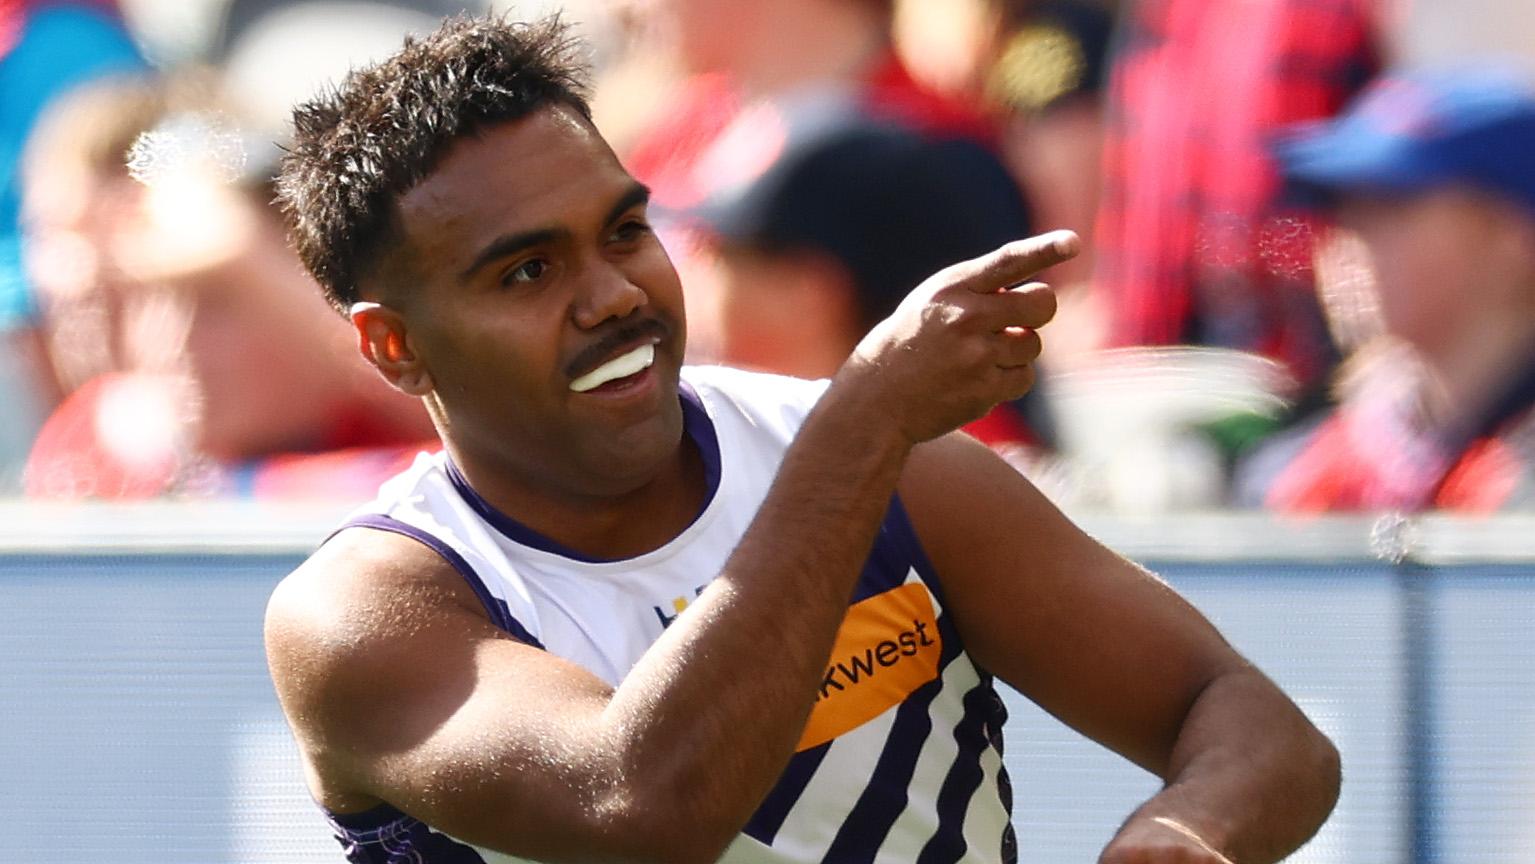
Fremantle small forward Isaiah Dudley makes the difficult look easy with this checkside stunner against Melbourne.
Geelong coach Chris Scott says he was kept "at arm's length" from the club's controversial concussion deal with Jake Kolodjashnij and insists he doesn't know enough about the situation to give an informed opinion on it.
Round 22 of the 2026 AFL season kicks off with a Thursday night clash between the Western Bulldogs and North Melbourne, before a blockbuster meeting between Brisbane and Hawthorn on Friday.
| POS | Team | Pts. | % | Form |
|---|---|---|---|---|
| 1 |
 FRE FRE
|
72 | 143.4 | WWWWL |
| 2 |
 SYD SYD
|
64 | 134.0 | LLWWW |
| 3 |
 HAW HAW
|
58 | 118.2 | WWWWL |
| 4 |
 BL BL
|
56 | 117.8 | WWWLW |
| 5 |
 ADEL ADEL
|
56 | 117.6 | WWLWW |
| 6 |
 MELB MELB
|
56 | 107.6 | WWLWW |
| 7 |
 GEEL GEEL
|
52 | 120.6 | LWWWW |
| 8 |
 WB WB
|
48 | 93.9 | WWWLL |
| 9 |
 COLL COLL
|
46 | 105.6 | WWWWL |
| 10 |
 CARL CARL
|
40 | 97.0 | WLLWW |
| 11 |
 STK STK
|
36 | 104.3 | WWLWL |
| 12 |
 GWS GWS
|
36 | 99.0 | WWLLW |
| 13 |
 NMFC NMFC
|
36 | 90.9 | LLLLW |
| 14 |
 SUNS SUNS
|
28 | 94.7 | LLLLL |
| 15 |
 PORT PORT
|
24 | 90.2 | LLLLL |
| 16 |
 WCE WCE
|
16 | 70.8 | LLLLL |
| 17 |
 RICH RICH
|
12 | 63.5 | LLLWL |
| 18 |
 ESS ESS
|
8 | 63.2 | LWLLL |