


Game Information
Adelaide Oval
| fourth Quarter | |||
|---|---|---|---|
| Time | Team | Play | Score |
| 29:45 |  | T. Rockliff Goal | 132 - 75 |
| 25:08 | | C. Wingard Behind | 126 - 75 |
| 22:35 | | D. Houston Goal | 125 - 75 |
| 20:26 |  | P. Lipinski Goal | 119 - 75 |
| 18:46 | | S. Gray Goal | 119 - 69 |
| 13:53 | | R. Gray Goal | 113 - 69 |
| 12:11 | | R. Gray Behind | 107 - 69 |
| 11:06 | | T. Rockliff Behind | 106 - 69 |
| 9:39 | | T. McLean Goal | 105 - 69 |
| 7:13 | | R. Gray Goal | 105 - 63 |
| 5:59 | | B. Gowers Goal | 99 - 63 |
| 4:30 | | J. Schache Behind | 99 - 57 |
| 2:47 | | P. Ryder Goal | 99 - 56 |
| 0:35 | | Rushed | 93 - 56 |
| third Quarter | |||
| Time | Team | Play | Score |
| 30:22 | | T. Rockliff Goal | 93 - 55 |
| 28:26 | | M. Bontempelli Goal | 87 - 55 |
| 27:16 | | C. Dixon Behind | 87 - 49 |
| 26:50 | | B. Gowers Behind | 86 - 49 |
| 25:03 | | T. Boak Goal | 86 - 48 |
| 23:19 | | J. Westhoff Behind | 80 - 48 |
| 21:32 | | T. Boak Behind | 79 - 48 |
| 19:22 | | M. Wallis Goal | 78 - 48 |
| 16:38 | | J. Schache Goal | 78 - 42 |
| 15:09 | | J. Westhoff Goal | 78 - 36 |
| 12:06 | | T. Rockliff Goal | 72 - 36 |
| 7:38 | | J. Westhoff Goal | 66 - 36 |
| 6:32 | | J. Polec Goal | 60 - 36 |
| 4:11 | | M. Bontempelli Behind | 54 - 36 |
| 0:54 | | M. Wallis Goal | 54 - 35 |
| second Quarter | |||
| Time | Team | Play | Score |
| 33:27 | | C. Dixon Goal | 54 - 29 |
| 31:33 | | Rushed | 48 - 29 |
| 28:03 | | E. Richards Goal | 47 - 29 |
| 27:09 | | Rushed | 47 - 23 |
| 25:39 | | S. Motlop Goal | 47 - 22 |
| 17:58 | | B. Williams Behind | 41 - 22 |
| 15:53 | | E. Richards Goal | 41 - 21 |
| 12:33 | | M. Honeychurch Behind | 41 - 15 |
| 10:45 | | R. Gray Goal | 41 - 14 |
| 8:04 | | M. Bontempelli Goal | 35 - 14 |
| 5:35 | | E. Richards Goal | 35 - 8 |
| 0:20 | | J. Schache Behind | 35 - 2 |
| first Quarter | |||
| Time | Team | Play | Score |
| 28:51 | | C. Dixon Behind | 35 - 1 |
| 23:10 | | L. Thomas Behind | 34 - 1 |
| 21:45 | | C. Dixon Goal | 33 - 1 |
| 19:41 | | L. Thomas Goal | 27 - 1 |
| 16:01 | | O. Wines Goal | 21 - 1 |
| 13:24 | | J. Polec Goal | 15 - 1 |
| 11:34 | | T. Marshall Behind | 9 - 1 |
| 10:32 | | T. Marshall Behind | 8 - 1 |
| 8:48 | | C. Dixon Goal | 7 - 1 |
| 7:35 | | S. Gray Behind | 1 - 1 |
| 2:26 | | B. Gowers Behind | 0 - 1 |
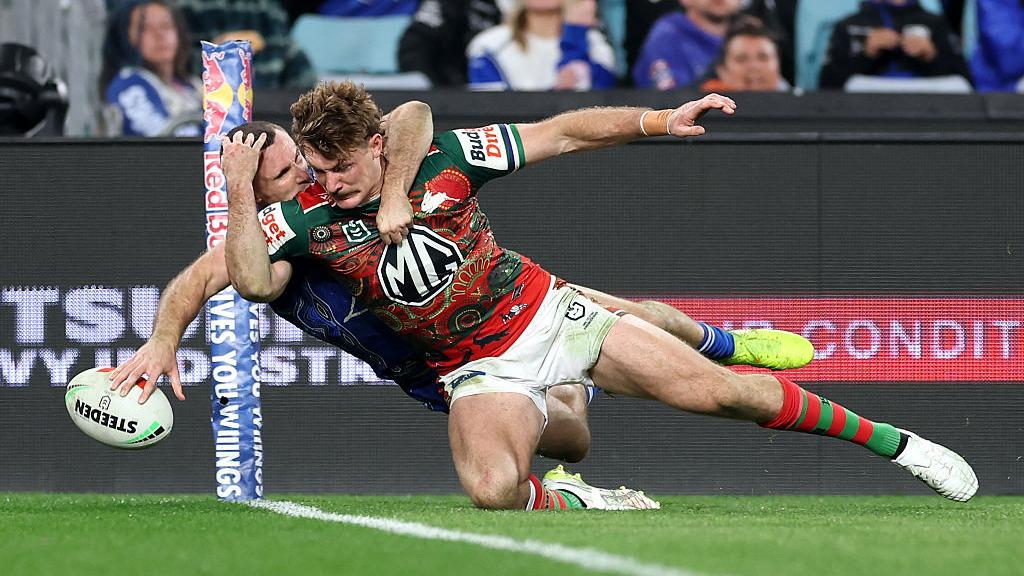
Campbell Graham hauls in a bomb from Jayden Sullivan and scores with a tough run into the corner.
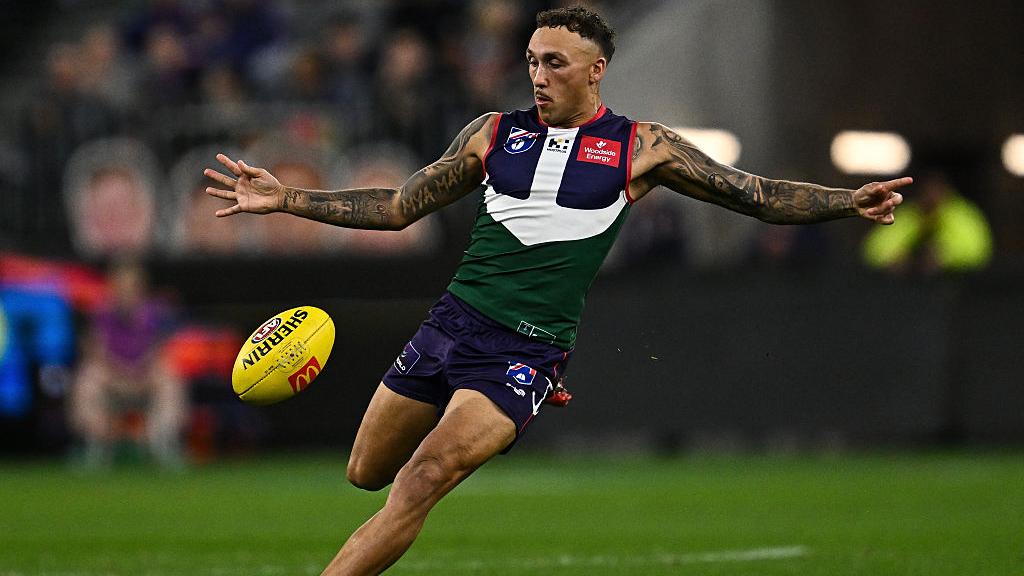
Shai Bolton keeps the ball alive with a brilliant run up the wing before finding Jye Amiss, who slots Fremantle's third.
Round 23 of the 2026 AFL season kicks off with a huge Friday night battle between ladder-leaders Fremantle and the Adelaide Crows.
Richmond spearhead Tom Lynch is set to play on next year as his fellow premiership stars attempt to end their Tiger careers on a high.
Josh Fraser has presented to Carlton hierarchy after officially entering the Blues' process to find their full-time coach.
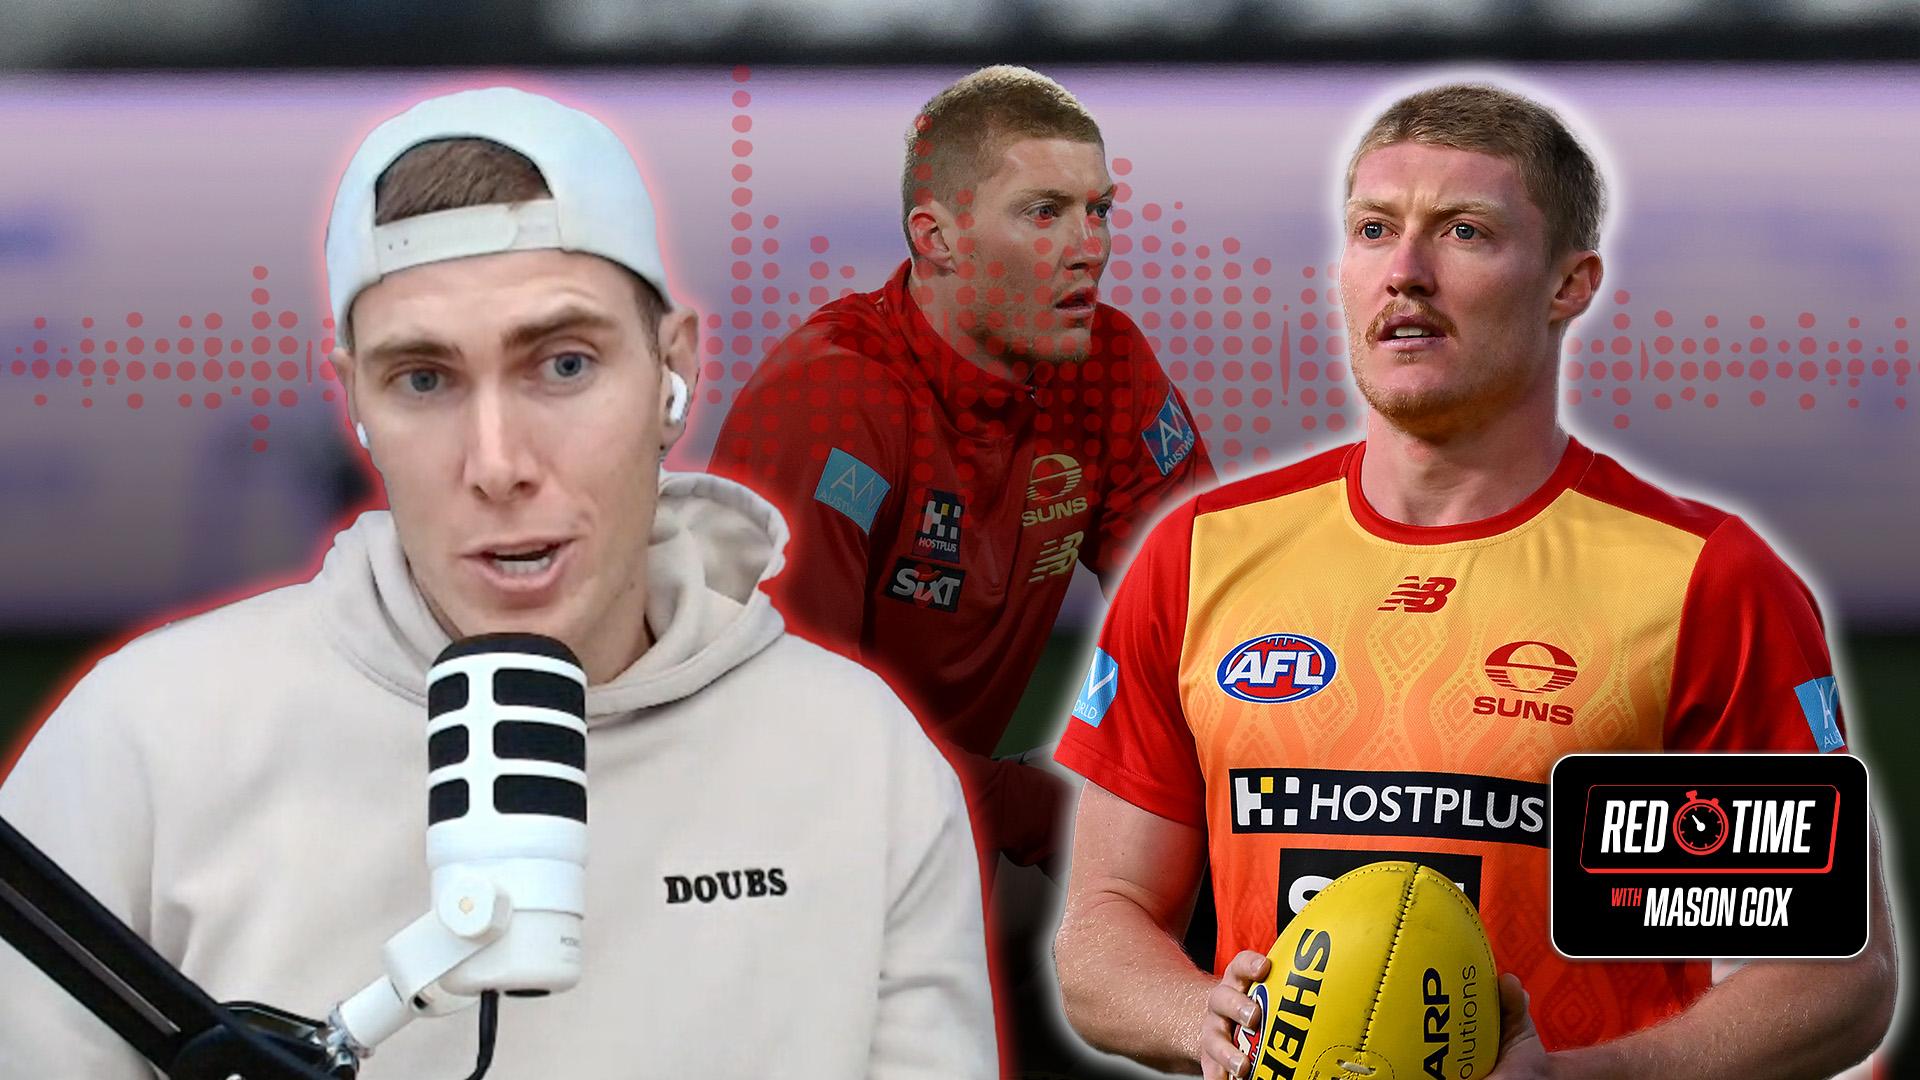
Mason Cox comments on Gold Coast Sun Matt Rowell's ritual of eating the football field's grass before the bounce and discusses his own pregame rituals.
| POS | Team | Pts. | % | Form |
|---|---|---|---|---|
| 1 |
 FRE FRE
|
76 | 142.5 | WWWLW |
| 2 |
 SYD SYD
|
64 | 134.0 | LLWWW |
| 3 |
 HAW HAW
|
58 | 118.2 | WWWWL |
| 4 |
 BL BL
|
56 | 117.8 | WWWLW |
| 5 |
 ADEL ADEL
|
56 | 115.1 | WLWWL |
| 6 |
 MELB MELB
|
56 | 107.6 | WWLWW |
| 7 |
 GEEL GEEL
|
52 | 120.6 | LWWWW |
| 8 |
 COLL COLL
|
50 | 106.4 | WWWLW |
| 9 |
 WB WB
|
48 | 93.9 | WWWLL |
| 10 |
 CARL CARL
|
44 | 99.6 | LLWWW |
| 11 |
 STK STK
|
36 | 101.6 | WLWLL |
| 12 |
 GWS GWS
|
36 | 98.9 | WLLWL |
| 13 |
 NMFC NMFC
|
36 | 90.9 | LLLLW |
| 14 |
 SUNS SUNS
|
32 | 95.0 | LLLLW |
| 15 |
 PORT PORT
|
24 | 90.2 | LLLLL |
| 16 |
 WCE WCE
|
16 | 71.5 | LLLLL |
| 17 |
 RICH RICH
|
12 | 63.5 | LLLWL |
| 18 |
 ESS ESS
|
8 | 63.2 | LWLLL |