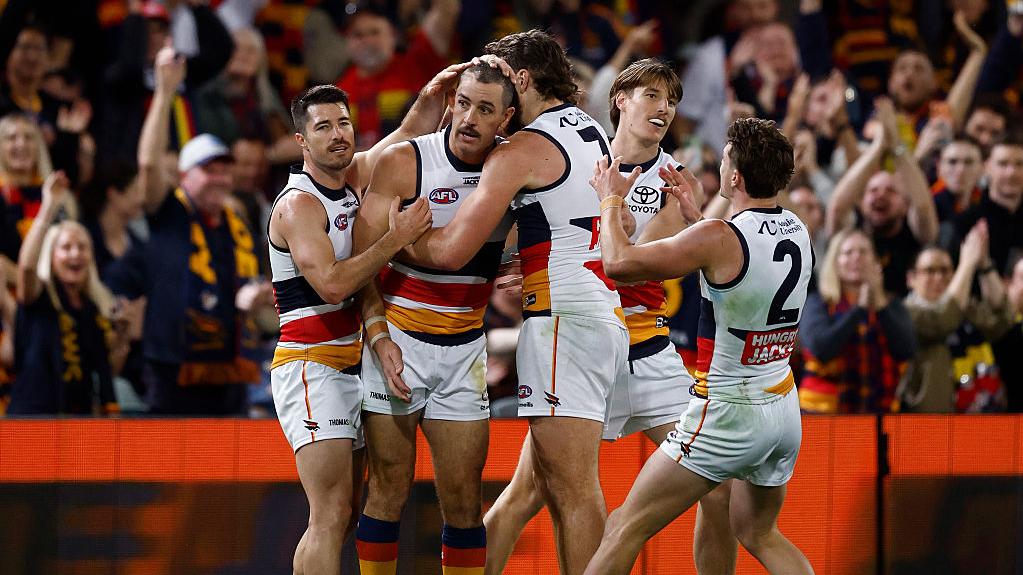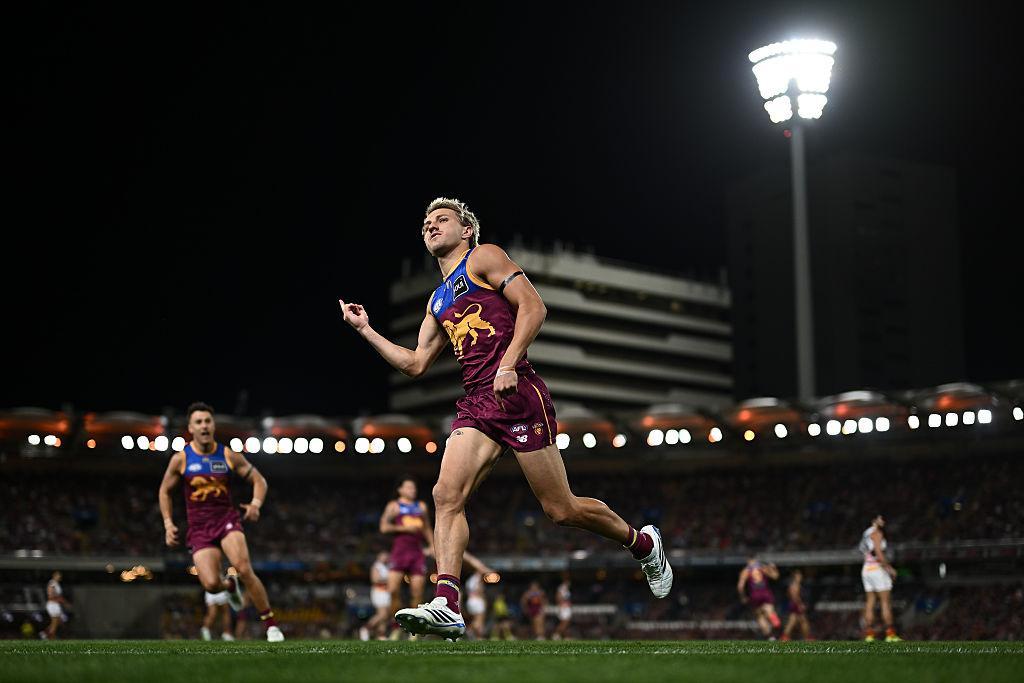



Game Information
Adelaide Oval
| fourth Quarter | |||
|---|---|---|---|
| Time | Team | Play | Score |
| 25:01 |  | N. Holman Goal | 93 - 91 |
| 23:25 |  | T. Boak Behind | 93 - 85 |
| 22:46 | | M. Georgiades Behind | 92 - 85 |
| 20:53 | | K. Amon Behind | 91 - 85 |
| 16:28 | | Rushed | 90 - 85 |
| 14:27 | | M. Chol Goal | 89 - 85 |
| 12:28 | | T. Marshall Goal | 89 - 79 |
| 11:10 | | Rushed | 83 - 79 |
| 8:59 | | B. Ainsworth Behind | 83 - 78 |
| 6:00 | | C. Burgess Behind | 83 - 77 |
| 0:43 | | I. Rankine Goal | 83 - 76 |
| third Quarter | |||
| Time | Team | Play | Score |
| 31:28 | | T. Marshall Goal | 83 - 70 |
| 29:00 | | B. Ellis Goal | 77 - 70 |
| 24:34 | | J. Finlayson Goal | 77 - 64 |
| 23:43 | | S. Motlop Behind | 71 - 64 |
| 21:55 | | Rushed | 70 - 64 |
| 19:12 | | C. Rozee Goal | 69 - 64 |
| 17:11 | | C. Rozee Goal | 63 - 64 |
| 16:02 | | I. Rankine Goal | 57 - 64 |
| 14:52 | | Rushed | 57 - 58 |
| 12:41 | | B. Ellis Goal | 56 - 58 |
| 10:55 | | L. Casboult Behind | 56 - 52 |
| 7:37 | | T. Marshall Goal | 56 - 51 |
| 4:34 | | B. Ainsworth Goal | 50 - 51 |
| 2:20 | | L. Casboult Goal | 50 - 45 |
| 0:36 | | C. Dixon Goal | 50 - 39 |
| second Quarter | |||
| Time | Team | Play | Score |
| 30:57 | | Rushed | 44 - 39 |
| 29:35 | | B. Ainsworth Behind | 44 - 38 |
| 26:57 | | K. Farrell Behind | 44 - 37 |
| 25:12 | | C. Dixon Behind | 43 - 37 |
| 21:43 | | M. Chol Behind | 42 - 37 |
| 18:33 | | M. Georgiades Behind | 42 - 36 |
| 16:49 | | M. Georgiades Goal | 41 - 36 |
| 15:13 | | S. Powell-Pepper Behind | 35 - 36 |
| 13:01 | | I. Rankine Goal | 34 - 36 |
| 9:41 | | M. Rosas Goal | 34 - 30 |
| 7:36 | | M. Chol Behind | 34 - 24 |
| 5:20 | | M. Chol Goal | 34 - 23 |
| 3:11 | | T. Miller Behind | 34 - 17 |
| first Quarter | |||
| Time | Team | Play | Score |
| 32:23 | | N. Holman Behind | 34 - 16 |
| 30:34 | | K. Farrell Behind | 34 - 15 |
| 28:10 | | M. Chol Goal | 33 - 15 |
| 27:05 | | M. Chol Behind | 33 - 9 |
| 26:07 | | D. Swallow Behind | 33 - 8 |
| 24:20 | | T. Marshall Goal | 33 - 7 |
| 22:33 | | L. Jones Goal | 27 - 7 |
| 19:55 | | L. Casboult Goal | 21 - 7 |
| 18:38 | | M. Georgiades Behind | 21 - 1 |
| 16:59 | | Rushed | 20 - 1 |
| 15:27 | | M. Georgiades Behind | 20 - 0 |
| 10:15 | | M. Georgiades Goal | 19 - 0 |
| 5:36 | | K. Farrell Goal | 13 - 0 |
| 2:11 | | X. Duursma Goal | 7 - 0 |
| 1:02 | | R. Burton Behind | 1 - 0 |
Taylor Walker wound back the clock in the semifinal with a long-range goal in the final quarter of his 319-game career.
From 53-point losers to 53-point winners, nobody rebounds like Brisbane. The three-peat is firmly on track.
After a disappointing few weeks, Kai Lohmann wastes no time kicking a goal in the first 30 seconds of the second semifinal against the Crows.
Keeley Skepper dodges an opponent before nailing a shot from the boundary.
Hawthorn sit just one win away from reaching their first Grand Final since 2015 but are all too aware how easily the opportunity can be ripped away.
Freo ruck Luke Jackson follows up his own good work and hits Patrick Voss with the perfect handball, who nails an important goal in Freo's semifinal win over Geelong.
| POS | Team | Pts. | % | Form |
|---|---|---|---|---|
| 1 |
 FRE FRE
|
76 | 137.2 | WWLWL |
| 2 |
 SYD SYD
|
72 | 136.1 | WWWWW |
| 3 |
 BL BL
|
64 | 121.7 | WLWWW |
| 4 |
 HAW HAW
|
64 | 120.1 | WWLDW |
| 5 |
 GEEL GEEL
|
60 | 122.3 | WWWWW |
| 6 |
 ADEL ADEL
|
60 | 117.3 | LWWLW |
| 7 |
 MELB MELB
|
60 | 109.6 | LWWWL |
| 8 |
 WB WB
|
54 | 95.4 | WLLDW |
| 9 |
 COLL COLL
|
52 | 102.4 | WLWDL |
| 10 |
 CARL CARL
|
50 | 101.5 | WWWDW |
| 11 |
 STK STK
|
40 | 102.8 | WLLWL |
| 12 |
 GWS GWS
|
40 | 98.9 | LWLWL |
| 13 |
 SUNS SUNS
|
36 | 94.5 | LLWLW |
| 14 |
 NMFC NMFC
|
36 | 88.8 | LLWLL |
| 15 |
 PORT PORT
|
28 | 88.1 | LLLLW |
| 16 |
 WCE WCE
|
16 | 69.2 | LLLLL |
| 17 |
 RICH RICH
|
12 | 62.5 | LWLLL |
| 18 |
 ESS ESS
|
8 | 64.6 | LLLLL |