


Game Information
Gabba
| fourth Quarter | |||
|---|---|---|---|
| Time | Team | Play | Score |
| 29:07 |  | C. Cameron Goal | 116 - 83 |
| 27:25 |  | J. Noble Behind | 110 - 83 |
| 26:08 | | J. Berry Behind | 110 - 82 |
| 23:58 | | Rushed | 109 - 82 |
| 22:33 | | T. Adams Behind | 109 - 81 |
| 19:41 | | N. Daicos Goal | 109 - 80 |
| 17:48 | | J. Daniher Goal | 109 - 74 |
| 14:05 | | J. De Goey Goal | 103 - 74 |
| 12:06 | | C. Cameron Behind | 103 - 68 |
| 8:50 | | J. Elliott Behind | 102 - 68 |
| 6:49 | | S. Sidebottom Behind | 102 - 67 |
| 5:27 | | C. Cameron Goal | 102 - 66 |
| 3:22 | | J. Crisp Goal | 96 - 66 |
| 2:10 | | C. Cameron Goal | 96 - 60 |
| third Quarter | |||
| Time | Team | Play | Score |
| 29:25 | | B. Mihocek Goal | 90 - 60 |
| 28:23 | | C. Cameron Goal | 90 - 54 |
| 26:54 | | J. De Goey Behind | 84 - 54 |
| 24:51 | | B. Mihocek Goal | 84 - 53 |
| 20:47 | | O. Markov Behind | 84 - 47 |
| 17:22 | | N. Daicos Behind | 84 - 46 |
| 15:34 | | B. Mihocek Goal | 84 - 45 |
| 14:10 | | C. Rayner Goal | 84 - 39 |
| 11:34 | | N. Daicos Behind | 78 - 39 |
| 10:09 | | C. Rayner Behind | 78 - 38 |
| 8:04 | | Rushed | 77 - 38 |
| 6:35 | | C. Rayner Goal | 76 - 38 |
| 5:08 | | C. Cameron Goal | 70 - 38 |
| 3:56 | | Rushed | 64 - 38 |
| 3:01 | | J. Elliott Behind | 64 - 37 |
| 1:01 | | E. Hipwood Goal | 64 - 36 |
| second Quarter | |||
| Time | Team | Play | Score |
| 29:39 | | B. Hill Behind | 58 - 36 |
| 27:01 | | E. Hipwood Behind | 58 - 35 |
| 25:06 | | D. Zorko Goal | 57 - 35 |
| 19:56 | | J. Prior Goal | 51 - 35 |
| 17:00 | | E. Hipwood Goal | 45 - 35 |
| 16:03 | | Z. Bailey Behind | 39 - 35 |
| 13:18 | | J. Berry Goal | 38 - 35 |
| 12:37 | | J. Elliott Behind | 32 - 35 |
| 7:39 | | J. Daniher Goal | 32 - 34 |
| 3:40 | | D. Wilmot Goal | 26 - 34 |
| 0:55 | | A. Johnson Behind | 20 - 34 |
| first Quarter | |||
| Time | Team | Play | Score |
| 30:23 | | N. Daicos Goal | 20 - 33 |
| 28:15 | | Rushed | 20 - 27 |
| 27:01 | | B. Hill Goal | 20 - 26 |
| 24:51 | | B. Mihocek Behind | 20 - 20 |
| 22:24 | | B. Hill Goal | 20 - 19 |
| 18:25 | | C. Cameron Goal | 20 - 13 |
| 16:15 | | C. Rayner Goal | 14 - 13 |
| 10:35 | | C. Rayner Goal | 8 - 13 |
| 8:03 | | A. Johnson Goal | 2 - 13 |
| 4:43 | | B. McCreery Behind | 2 - 7 |
| 3:18 | | L. Neale Behind | 2 - 6 |
| 2:19 | | L. McCarthy Behind | 1 - 6 |
| 1:09 | | T. Adams Goal | 0 - 6 |
Essendon and Hawthorn's jostling over Zach Merrett and deals for free agents Zak Butters and Ben King will headline another bumper trade and free agency period.
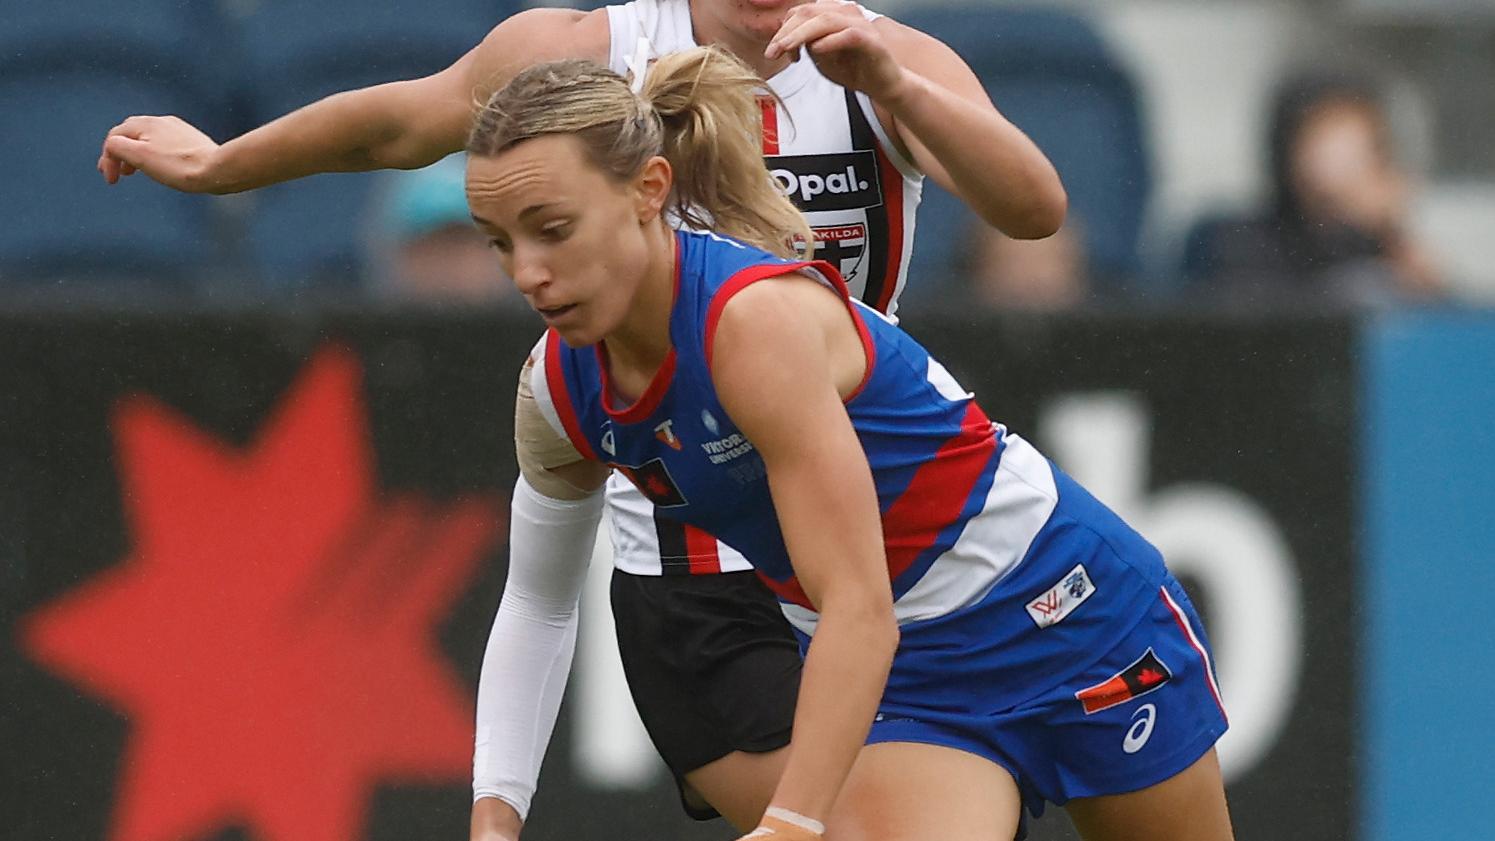
The Bulldogs embrace the conditions as three players combine with kicks off the deck, ending with Rylie Wilcox slotting the goal.
The offseason is upon us which means AFL trades, free agency, and player movement is about to take off. Here's the latest news, whispers, and confirmed deals.
The AFL has revealed Greater Western Sydney's compensation draft pick after former skipper Toby Greene completed his late-career move to Geelong.
A few days out from trade period, when Hawthorn are expected to recruit Zach Merrett, the Essendon star has won his seventh club best and fairest award.
Isaac Heeney has been named Sydney's best and fairest, but he and fellow Sydney stars were notable absentees from the club's end-of-season awards night.
| POS | Team | Pts. | % | Form |
|---|---|---|---|---|
| 1 |
 FRE FRE
|
76 | 137.2 | WWLWL |
| 2 |
 SYD SYD
|
72 | 136.1 | WWWWW |
| 3 |
 BL BL
|
64 | 121.7 | WLWWW |
| 4 |
 HAW HAW
|
64 | 120.1 | WWLDW |
| 5 |
 GEEL GEEL
|
60 | 122.3 | WWWWW |
| 6 |
 ADEL ADEL
|
60 | 117.3 | LWWLW |
| 7 |
 MELB MELB
|
60 | 109.6 | LWWWL |
| 8 |
 WB WB
|
54 | 95.4 | WLLDW |
| 9 |
 COLL COLL
|
52 | 102.4 | WLWDL |
| 10 |
 CARL CARL
|
50 | 101.5 | WWWDW |
| 11 |
 STK STK
|
40 | 102.8 | WLLWL |
| 12 |
 GWS GWS
|
40 | 98.9 | LWLWL |
| 13 |
 SUNS SUNS
|
36 | 94.5 | LLWLW |
| 14 |
 NMFC NMFC
|
36 | 88.8 | LLWLL |
| 15 |
 PORT PORT
|
28 | 88.1 | LLLLW |
| 16 |
 WCE WCE
|
16 | 69.2 | LLLLL |
| 17 |
 RICH RICH
|
12 | 62.5 | LWLLL |
| 18 |
 ESS ESS
|
8 | 64.6 | LLLLL |