


Game Information
Adelaide Oval
| fourth Quarter | |||
|---|---|---|---|
| Time | Team | Play | Score |
| 30:59 |  | X. Duursma Goal | 110 - 67 |
| 28:50 |  | H. Dixon Goal | 104 - 67 |
| 26:49 | | N. Fyfe Goal | 104 - 61 |
| 25:00 | | M. Walters Goal | 104 - 55 |
| 22:45 | | X. Duursma Behind | 104 - 49 |
| 20:18 | | C. Dixon Goal | 103 - 49 |
| 17:05 | | C. Rozee Goal | 97 - 49 |
| 15:10 | | T. Boak Goal | 91 - 49 |
| 14:17 | | R. Gray Behind | 85 - 49 |
| 9:29 | | T. Boak Behind | 84 - 49 |
| 7:29 | | S. Switkowski Behind | 83 - 49 |
| 4:08 | | M. Walters Goal | 83 - 48 |
| third Quarter | |||
| Time | Team | Play | Score |
| 27:49 | | J. Westhoff Goal | 83 - 42 |
| 26:00 | | B. Banfield Goal | 77 - 42 |
| 25:23 | | Rushed | 77 - 36 |
| 23:53 | | O. Wines Behind | 76 - 36 |
| 22:54 | | R. Burton Behind | 75 - 36 |
| 21:00 | | T. Marshall Goal | 74 - 36 |
| 16:49 | | T. Rockliff Goal | 68 - 36 |
| 15:16 | | R. Bonner Behind | 62 - 36 |
| 13:49 | | T. Marshall Behind | 61 - 36 |
| 7:20 | | D. Byrne-Jones Behind | 60 - 36 |
| 5:32 | | C. Dixon Goal | 59 - 36 |
| 3:44 | | C. Dixon Behind | 53 - 36 |
| 2:40 | | K. Amon Behind | 52 - 36 |
| second Quarter | |||
| Time | Team | Play | Score |
| 26:48 | | C. Rozee Goal | 51 - 36 |
| 25:28 | | D. Tucker Behind | 45 - 36 |
| 23:44 | | C. Dixon Goal | 45 - 35 |
| 22:15 | | Rushed | 39 - 35 |
| 21:27 | | S. Gray Behind | 38 - 35 |
| 17:00 | | S. Lycett Behind | 37 - 35 |
| 16:17 | | C. McCarthy Behind | 36 - 35 |
| 15:55 | | M. Walters Behind | 36 - 34 |
| 10:57 | | C. Rozee Behind | 36 - 33 |
| 10:39 | | P. Ryder Behind | 35 - 33 |
| 8:45 | | D. Houston Goal | 34 - 33 |
| 6:22 | | D. Mundy Behind | 28 - 33 |
| 4:03 | | D. Tucker Behind | 28 - 32 |
| 1:02 | | X. Duursma Goal | 28 - 31 |
| first Quarter | |||
| Time | Team | Play | Score |
| 29:55 | | J. Westhoff Behind | 22 - 31 |
| 28:10 | | P. Ryder Behind | 21 - 31 |
| 25:02 | | M. Walters Goal | 20 - 31 |
| 22:22 | | J. Westhoff Goal | 20 - 25 |
| 21:02 | | N. Fyfe Behind | 14 - 25 |
| 18:14 | | S. Switkowski Goal | 14 - 24 |
| 15:09 | | E. Langdon Goal | 14 - 18 |
| 12:49 | | R. Bonner Goal | 14 - 12 |
| 11:06 | | C. Rozee Behind | 8 - 12 |
| 10:31 | | C. Dixon Behind | 7 - 12 |
| 6:44 | | D. Mundy Goal | 6 - 12 |
| 5:06 | | E. Langdon Goal | 6 - 6 |
| 1:54 | | T. Marshall Goal | 6 - 0 |
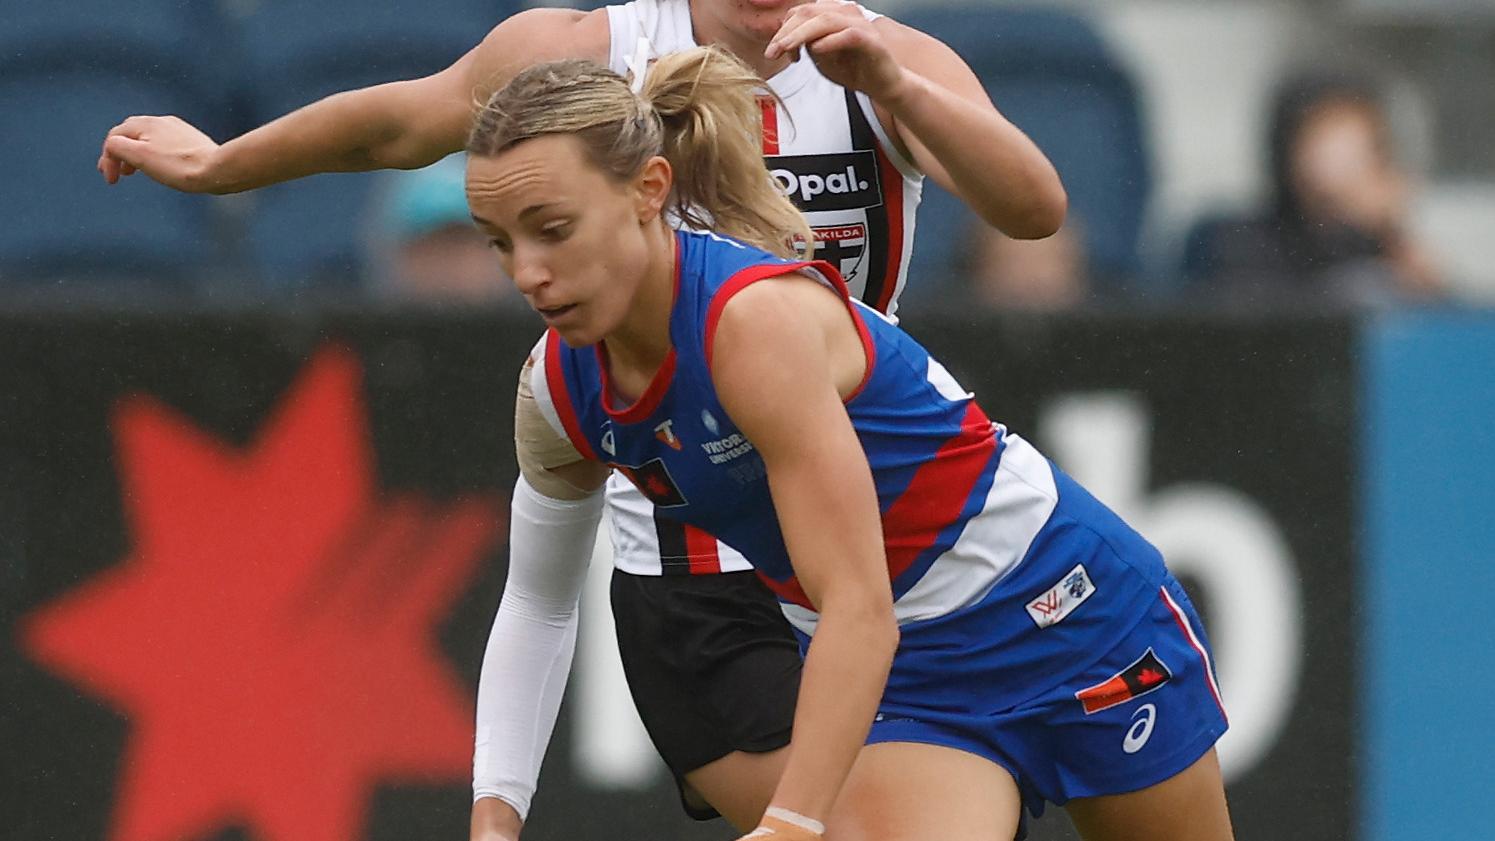
The Bulldogs embrace the conditions as three players combine with kicks off the deck, ending with Rylie Wilcox slotting the goal.
The offseason is upon us which means AFL trades, free agency, and player movement is about to take off. Here's the latest news, whispers, and confirmed deals.
The AFL has revealed Greater Western Sydney's compensation draft pick after former skipper Toby Greene completed his late-career move to Geelong.
A few days out from trade period, when Hawthorn are expected to recruit Zach Merrett, the Essendon star has won his seventh club best and fairest award.
Isaac Heeney has been named Sydney's best and fairest, but he and fellow Sydney stars were notable absentees from the club's end-of-season awards night.
The season might be over, but there is still plenty to talk about -- particularly at the Lions. Chris Fagan is gone, Lachie Neale is off to Collingwood, and suddenly Brisbane's future looks very different.
| POS | Team | Pts. | % | Form |
|---|---|---|---|---|
| 1 |
 FRE FRE
|
76 | 137.2 | WWLWL |
| 2 |
 SYD SYD
|
72 | 136.1 | WWWWW |
| 3 |
 BL BL
|
64 | 121.7 | WLWWW |
| 4 |
 HAW HAW
|
64 | 120.1 | WWLDW |
| 5 |
 GEEL GEEL
|
60 | 122.3 | WWWWW |
| 6 |
 ADEL ADEL
|
60 | 117.3 | LWWLW |
| 7 |
 MELB MELB
|
60 | 109.6 | LWWWL |
| 8 |
 WB WB
|
54 | 95.4 | WLLDW |
| 9 |
 COLL COLL
|
52 | 102.4 | WLWDL |
| 10 |
 CARL CARL
|
50 | 101.5 | WWWDW |
| 11 |
 STK STK
|
40 | 102.8 | WLLWL |
| 12 |
 GWS GWS
|
40 | 98.9 | LWLWL |
| 13 |
 SUNS SUNS
|
36 | 94.5 | LLWLW |
| 14 |
 NMFC NMFC
|
36 | 88.8 | LLWLL |
| 15 |
 PORT PORT
|
28 | 88.1 | LLLLW |
| 16 |
 WCE WCE
|
16 | 69.2 | LLLLL |
| 17 |
 RICH RICH
|
12 | 62.5 | LWLLL |
| 18 |
 ESS ESS
|
8 | 64.6 | LLLLL |